Greaseproof paper is a multipurpose material in culinary and non-food related industries for these letters of commitment and demands.
Developing your food-grade papers through customization offers a personal touch to packaging and presentation of serving and can be applied in bakery trade, business operations or craft.
In this beginner’s tutorial, I intend to make steps in the creative journey of making your custom greaseproof paper, from conception to print and give insights on how you can go sky high with your DIY project.
What is Greaseproof Paper?
The greaseproof paper, commonly accepted as waft paper, is a paper item coated by a thin layer of wax or similar substance. This coating produces the effect of the barrier that holds back grease and moisture from letting them escape.
The non-sticking property of this coating is crucially applicable to packaging food, greasing baking trays, and other tasks where the sticking should be prevented.
Why Make Your Own?
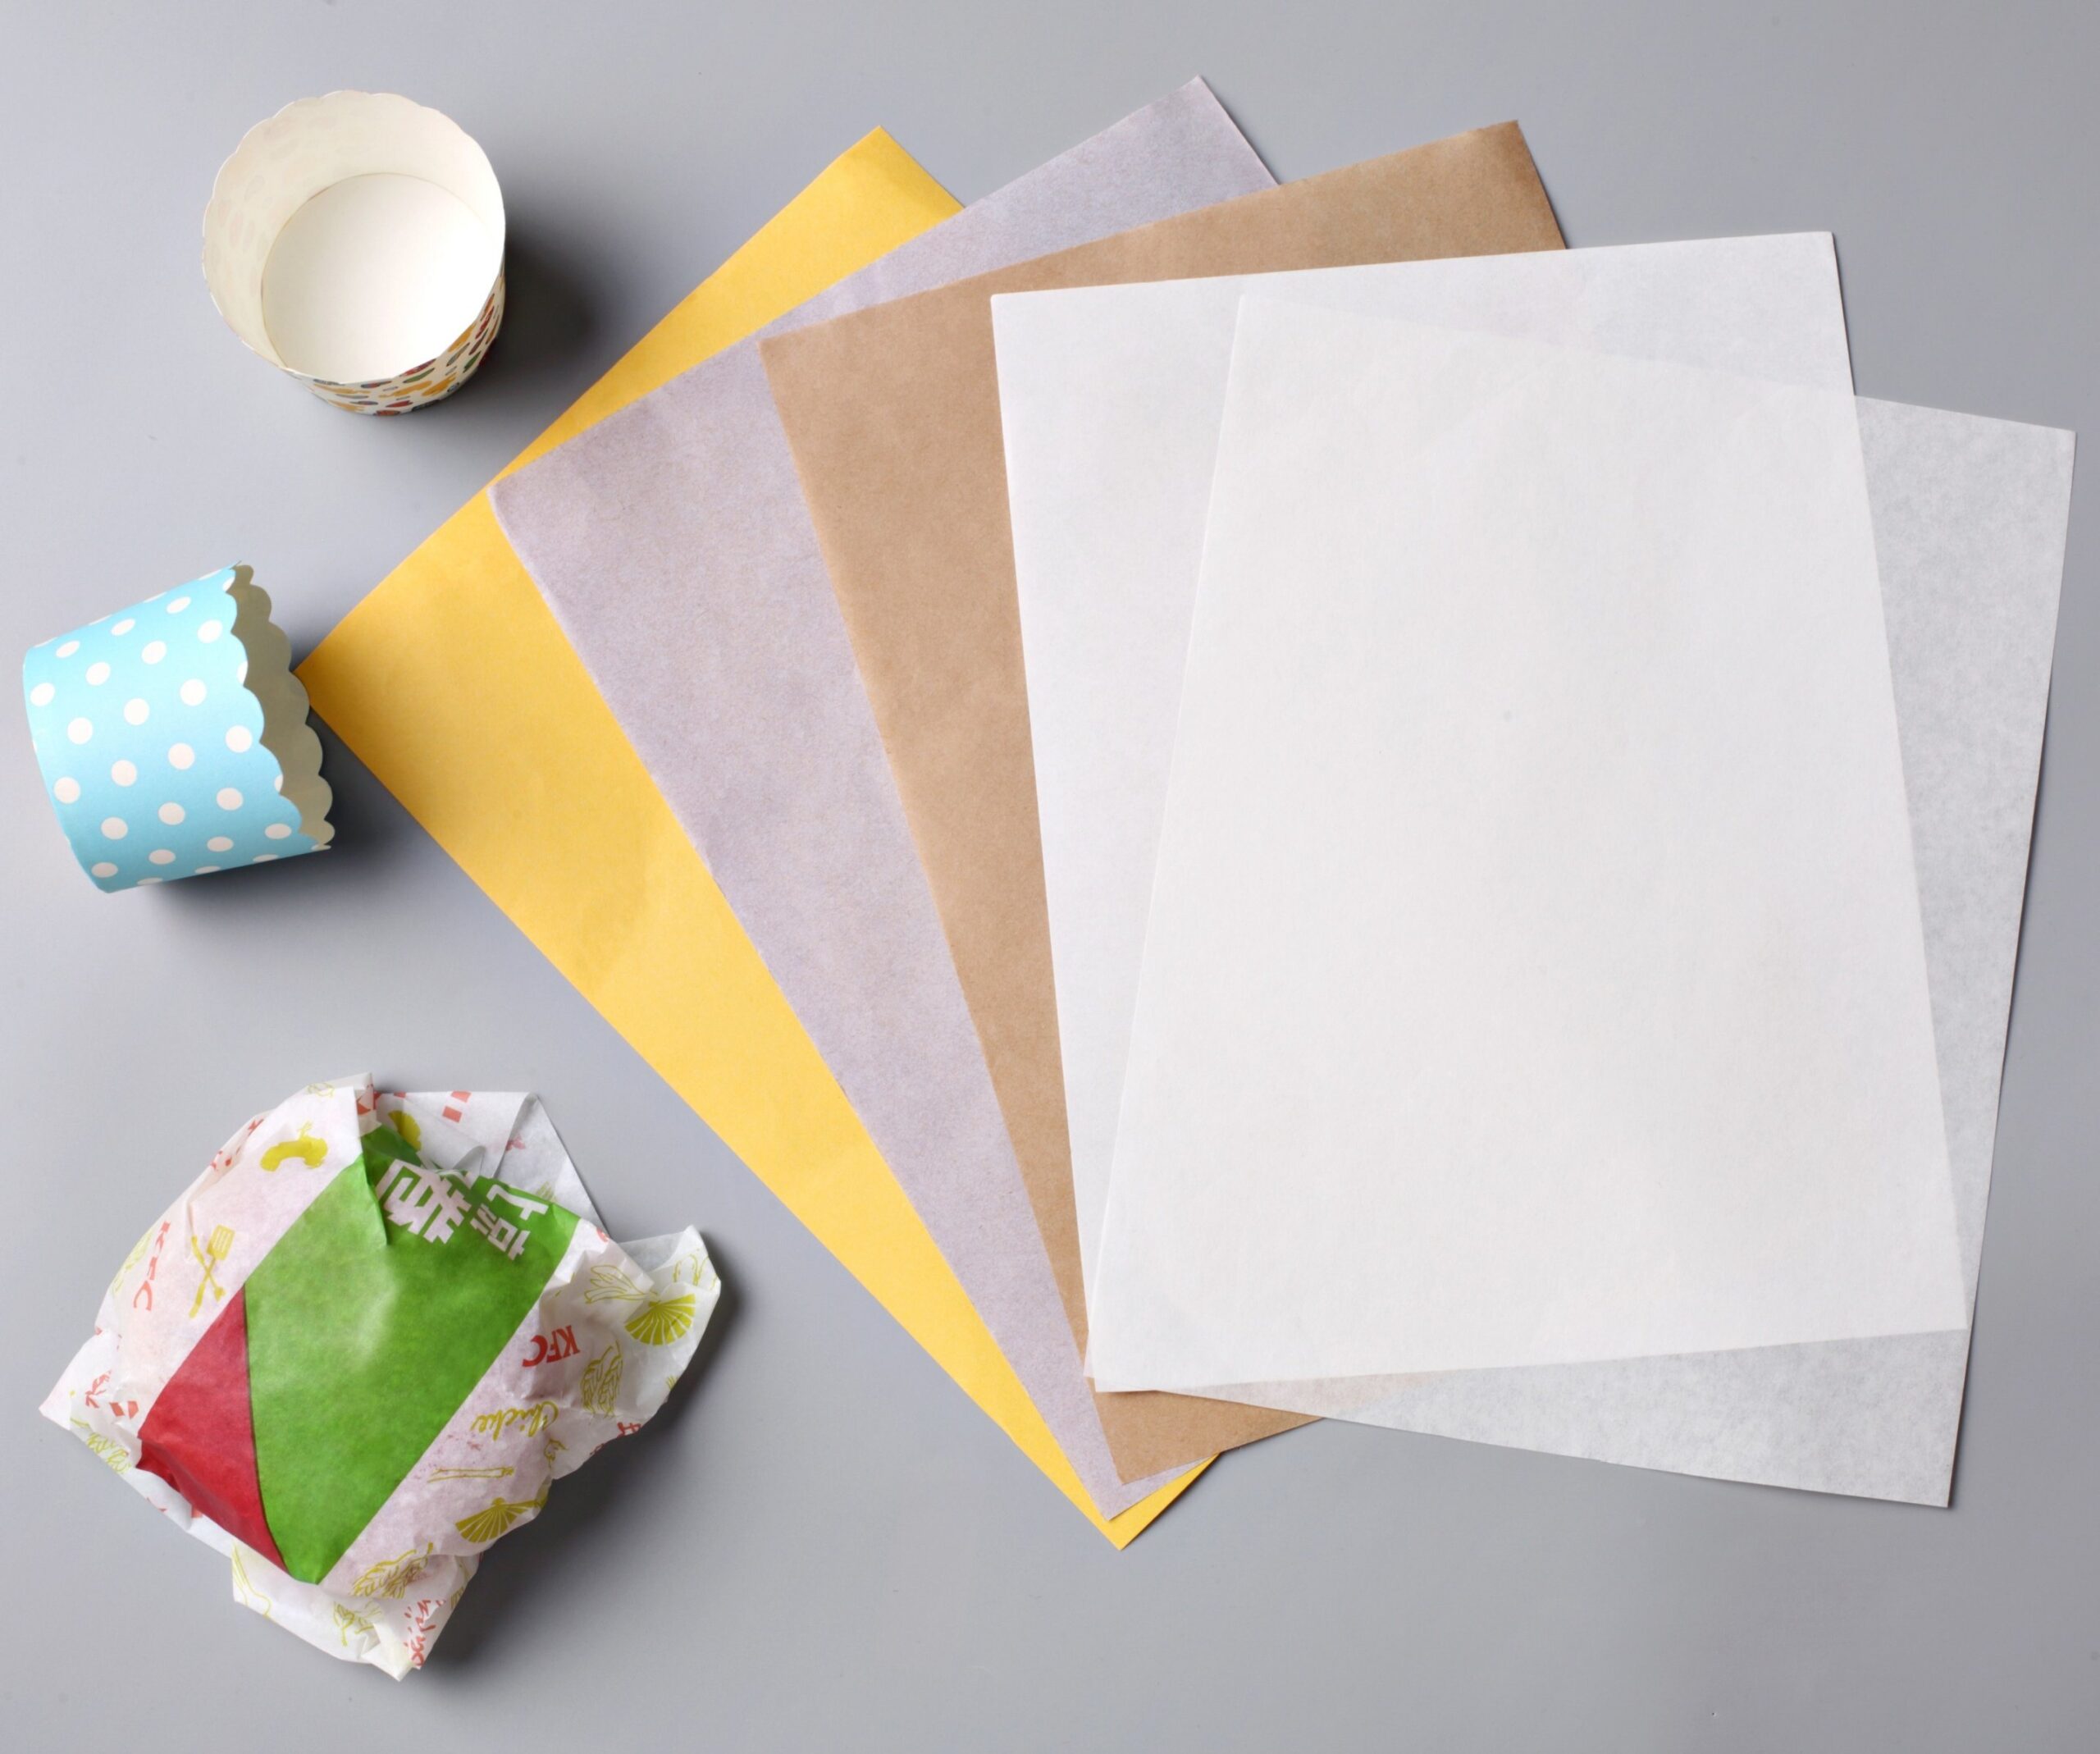
However, the readily produced greaseproof paper wholesale of the same are at the commercial level but crafting your own provides a scope for improvement and personalization. You can easily make unique printed greaseproof paper sheets bearing graphics, logos or even messages ideal for bakers as well as businesses that can find that unique touch.
Materials and Tools
Unbleached parchment paper
Carve a furrow from along the one side of your greaseproof paper to create a strong base.
Please apply food-safe methods
- Double boiler
- Silicone brush
- Baking sheet
- The paintbrush
- Stencils
- Scissors
Choosing Your Wax
Bee wax, a kind of wax that is natural and immediately available to us, is one alternative; while vegetable wax flake, which is a vegan choice of wax, is another option. For each grease, they are functioning as a barrier.
Preparing the Wax
In a double boiler, put your selected wax pieces in, over low heat and melt them. Allowing wax to melt in a warm, gradual way, without speeding up the process as it can burn.
Coating the Paper
Run a baking pan with parchment paper. Dip the silicone brush into the melted wax and spread the wax from side to side with a thin layer of wax on the parchment paper. Accomplish the circling of the area and try to avoid puddling.
Drying the Paper
Give enough time for the coated paper properly to dry a room temperature. For a distance of one mile, about half an hour is spent.
Customizing Your Paper
Then you can put it under the paper, which is drying now, while you are preparing for further customization. Through the use of a paintbrush and food-grade beverage/ink, you may embellish the paper with designs and emblems after it dries. Or perhaps stencils are gonna be used for this purpose.
Cutting and Storing
Lastly, wait for the greaseproof paper sheets to be dried using a scissor to cut them according to your desired size. Keep your creation in an airtight container in a cool, dry area.
Experimenting with Colors
To bring more brightness, feel free to add a pinch of colouring to the melted beeswax before coating it on the parchment paper
Bulk Options
If you think of mass-producing greaseproof and wax paper wholesale on a bigger scale, then purchasing in bulk is the better option for you. This can be economical for businesses, especially for those who are fervent in craft-making sessions every time they need one.e
Beyond Food
The custom-printed greaseproof paper doesn’t just function for food consumption. It can be employed for storing delicate craft items, pretty gift wrappers, or simply to use as a drawer liners to have a feel of safety.
Safety Precautions
Make sure you take necessary precautions when handling the hot melted wax. Make sure it doesn’t overheat and you place it far from flammable materials. Additionally, you can choose one of the more sustainable materials available, as they are better for the environment. So that children won’t be in any place where there are wires under the adults’ supervision.
Advanced Techniques
We start with the essential set of skimming ideas on how to make a greaseproof paper bag, which will allow you to prepare custom and simple ones. Here are some ways to elevate your creations
Double Coating
For more strength and grease resistance use again a second coat of wax but apply the first layer when the first thin layer is dried.
Textured Effects
Before the wax dries thoroughly, embed lace, fabric, or other textured items into the wax to create textures. They will be the basic notions that will form the foundation for your knowledge in this subject area.
Herb Infused Paper
Add a touch of magic with the subtle scent of rosemary or thyme from the dried herbs that you will add to the melted wax. Ensure the dry herbs have been finely chopped to avoid the herbs from being burnt.
Microwave Method
Otherwise the double boiler, you can melt the wax flakes in a microwave-safe dish instead, heat it for very short intervals and stir always to prevent it from scorching Nevertheless, this technique is usage-dependent and positive care is required to prevent burning of the wax.
Conclusion
Custom greaseproof paper enables you not only to maintain the ‘personalized’ look of the packaging or presentations but also to achieve the ‘practical’ properties of the unique material. Whether you’re a business owner or a creative enthusiast, you can successfully do this by following these steps. The custom greaseproof paper should not only reflect your unique style but also leap at me.